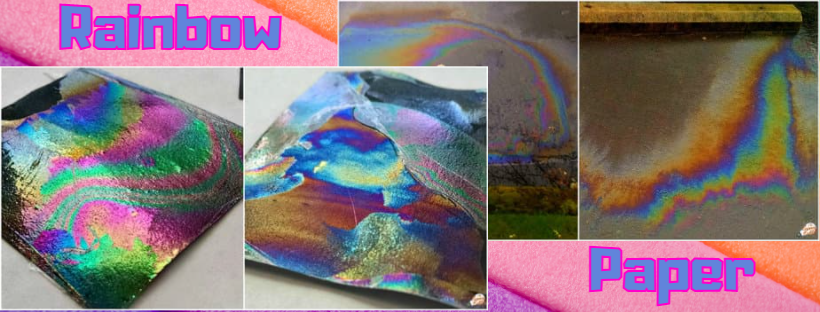
MONDAY: RAINBOW PAPER
Thanks to The Science Kiddo for these instructions and images! They also made a video of the process!
Supplies:
- A bowl filled with water (there’s a paper bowl in your kit; use this bowl. You can place the paper bowl in the foam bowl to catch any possible leakage.)
- Clear nail polish
- Small rectangles (~3-5″ long on the sides) of black construction paper
- Paper towels
Make sure to do this activity in a well-ventilated area!
How to make Rainbow Paper
Making rainbow paper is simple! This process is very similar to marbling, where a color solution layer sits on top of a container of water and an item is dipped in.
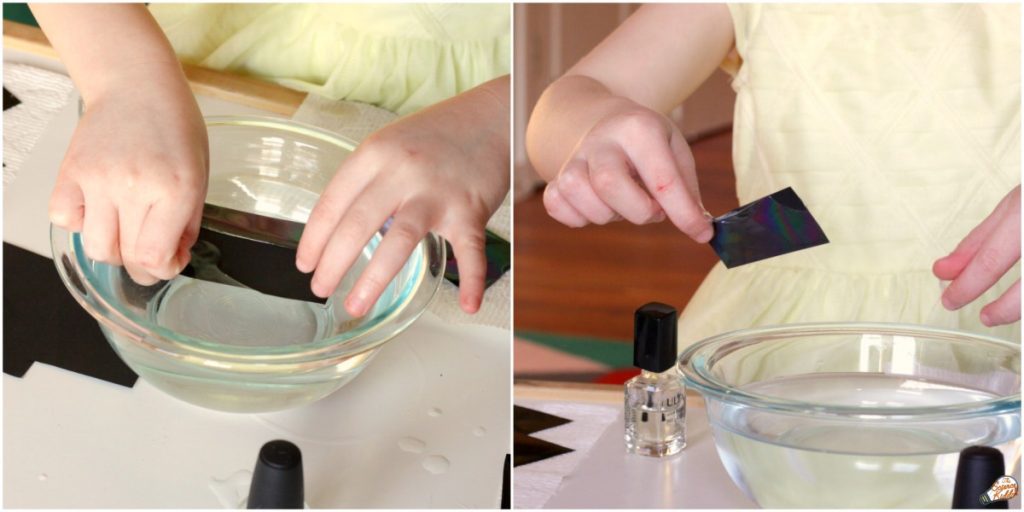
Just drip one little drop of nail polish into the bowl of water.
Wait a couple of seconds for the polish to disperse across the surface of the water.
Then, dip in a piece of black paper into the water and pull it out.
You can also try placing the paper under the water first and then dripping one drop of clear nail polish on top of it. The paper will be coated with a thin film of polish as you take it out of the water.
The nail polish dries quickly on the surface of the water, which creates a film that won’t stick to the paper. To do this activity successfully it needs to be done quickly. Be sure to dip the paper into the water within 10-15 seconds after the drop of nail polish goes in.
If the nail polish does create a dry film on top, simply scoop it off and try again more quickly!
Dry your rainbow papers on paper towels.
Once the paper is dry (this only takes a few minutes) tilt the paper in different directions to see the rainbow patterns appear. Hold it next to a sunny window for best results!
The Science behind Rainbow Paper
When you dip the paper into the water it gets coated with a thin layer of nail polish. The rainbow colors you see are caused by thin-film interference. (Read a more detailed explanation of thin-film interference on Wikipedia.)
You will notice that the colors on the paper change as the you tip the paper back and forth. This happens because light hits the paper at different angles as you tip it.
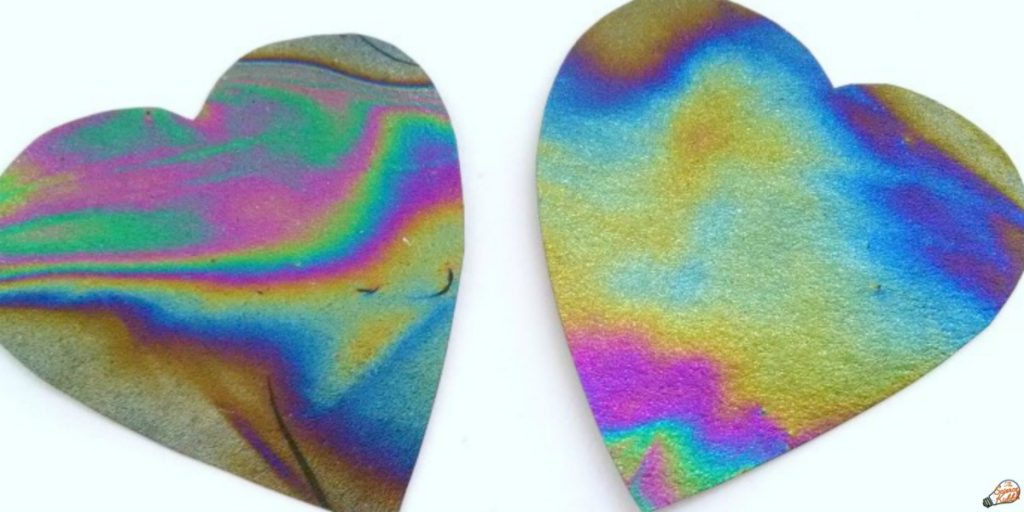
The colors of the rainbow vary with the thickness of the nail polish on the paper. This is why each piece of rainbow paper is varied and unique!
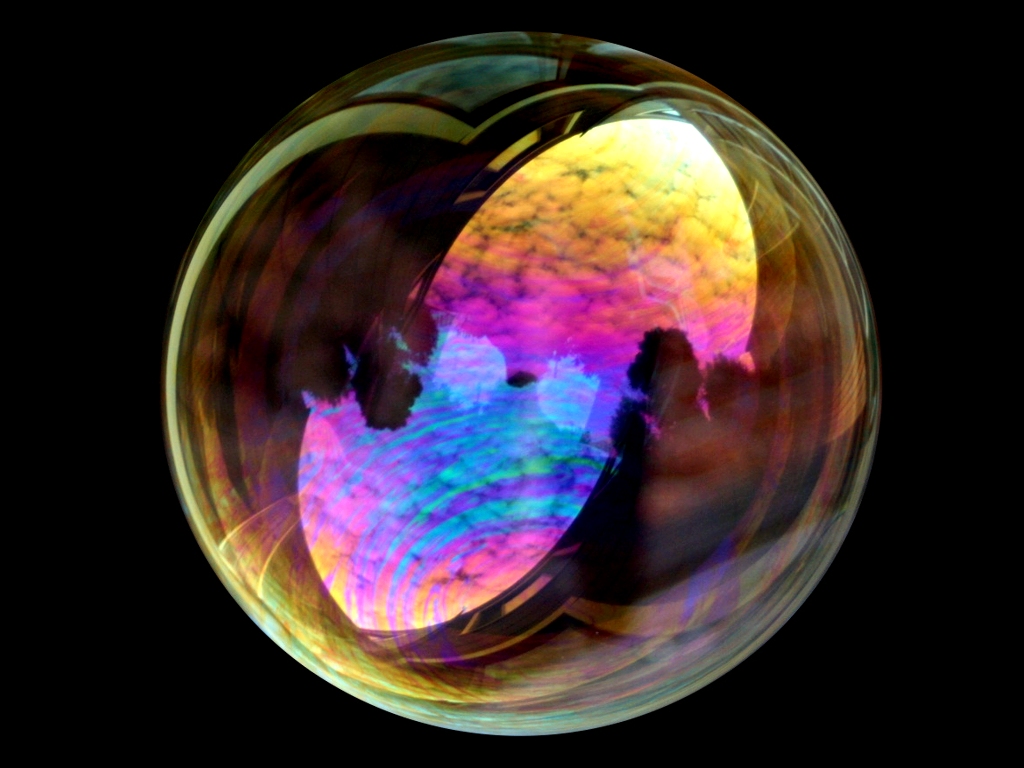
This is the same effect you will see when oil mixes with water on the road on rainy days. Thin film interference is also visible on the surface of soap bubbles at just the right angle to the light.
What will YOU do with your Rainbow Paper?
Each piece of rainbow paper is sturdy and resilient. They can be cut up and used for a rainbow paper craft such as a holiday card, a valentine, or paper wings on an insect.
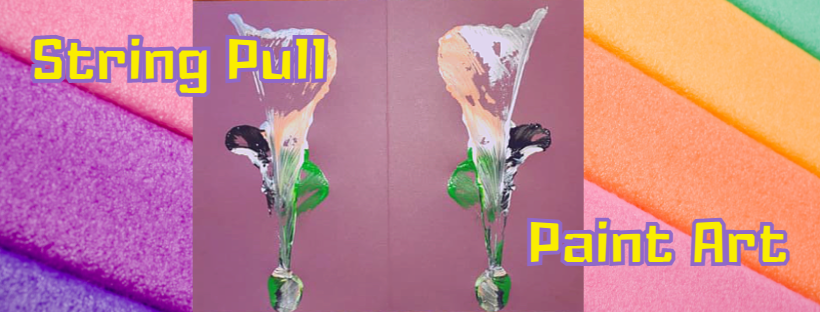
WEDNESDAY: STRING PULL ART
Thanks to one little project for the instructions and photos! You can find even more detailed instructions – and a video! – at that link.
Supplies
- Cardstock (or other thick paper)
- Acrylic paint
- String
- Paper plate
- Popsicle stick
Also grab PAPER TOWELS and a TISSUE BOX (or similar, like a box of crackers or a light book). You may also want a PENCIL. And make sure you have a TRASH CAN nearby!
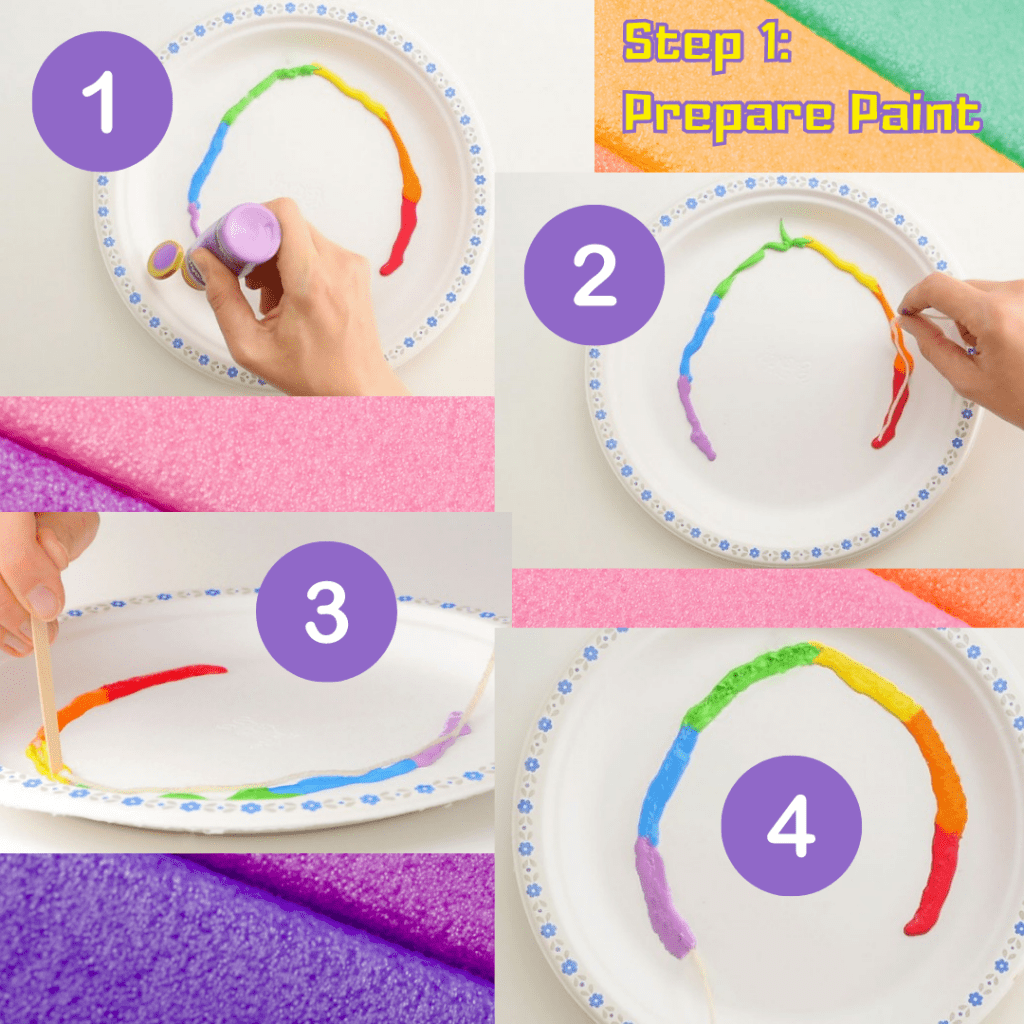
Step 1: Prepare Paint
- Squeeze a line of paint onto a paper plate. Make sure each paint color connects to the next so there are no gaps.
- Place the end of the string on the end of the line of paint. Where you start will be the top of your flower (or other shape). Continue to lay the string carefully on top of the entire line of paint.
- Use a stick to push the string into the paint.
- Work your way through the line of paint, covering the entire string in paint (other than the clean end, which you’ll use to pick up the string in the next step).
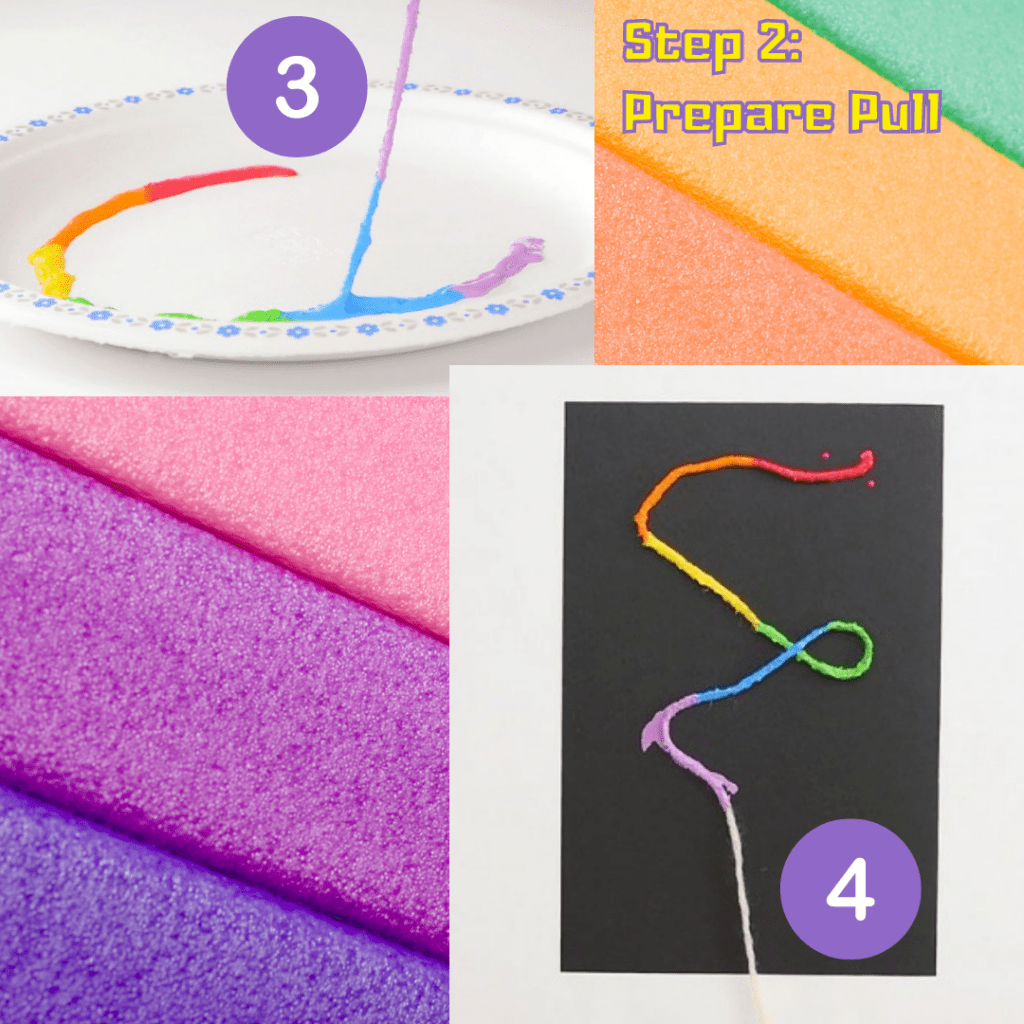
Step 2: Prepare Pull
- Take your piece of cardstock and fold in half (hamburger style). Make a nice, clean crease; you may want to cut your painting into 2 paintings later.
- Unfold your cardstock and place on a protected surface; you can use a PNG kit bag! Place in front of you, landscape style (with the crease running up and down).
- Carefully lift the clean end of the string and pull the entire length of string out of the paint.
- Lay the paint-covered string on a half of the paper, making loops and curves as you go. The clean end should come out at the middle of the bottom of that paper half. (Photo shows paper already cut in 2).
- Carefully fold your paper back in half, sandwiching the painted string between, with the clean end of the string coming out of the bottom.
TIP: To make your painting look more like a flower, make sure you include a loop or two when you lay out your string on the paper. You can also trace your shape with pencil before laying your string.
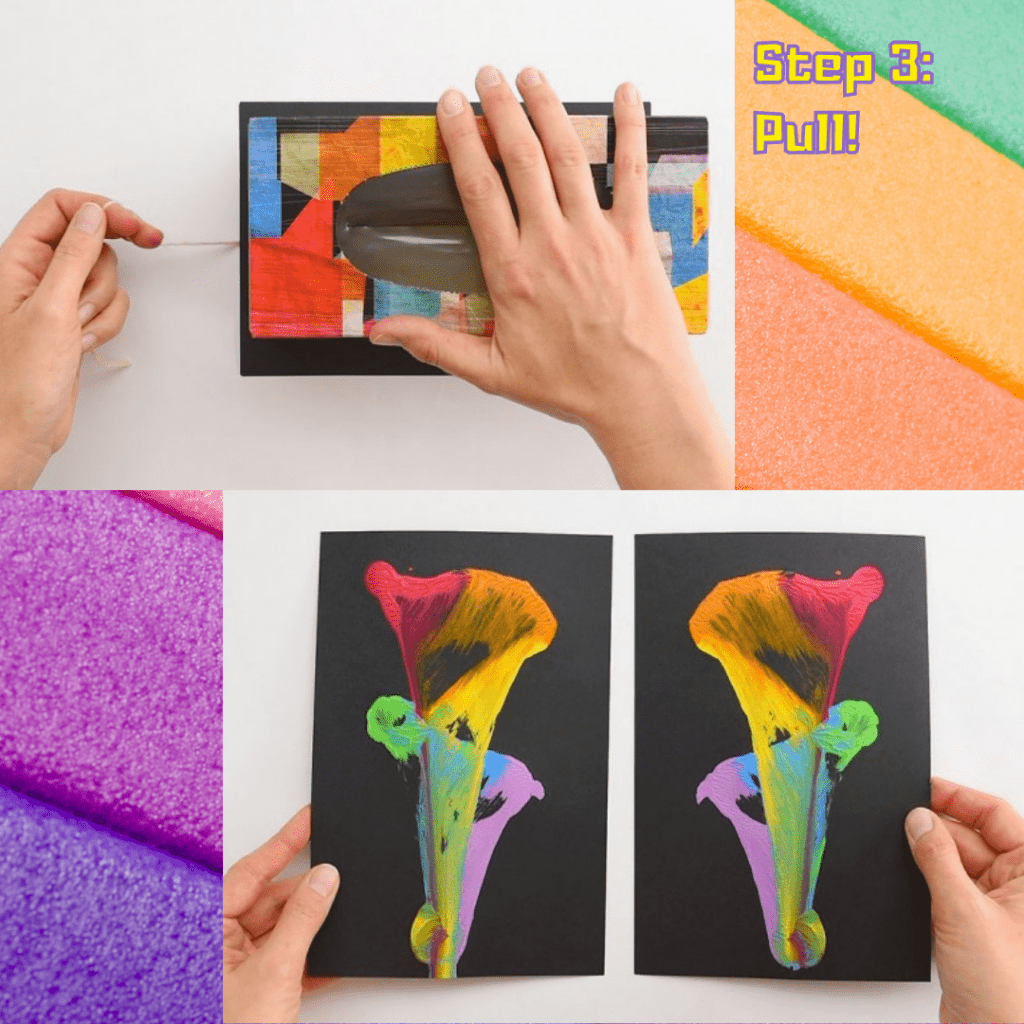
Step 3: Pull!
- Place a box (or thin book). You might get paint on this, so don’t use something expensive or cherished!
- Place one hand on the box. Use the other hand to slowly pull the clean end of the string. Pull the string as straight as possible, trying to keep it in the same position as you pull. Have your trash can ready for when your string is free!
- Carefully pull apart the fold in the paper to reveal your mirror image design!
TIP: If you’re having trouble pulling the string, release some pressure off the box. You don’t need a lot of pressure, just enough to keep everything from moving as you pull the string out.