MONDAY: SPORE PRINTS
This is a super fun and easy project!
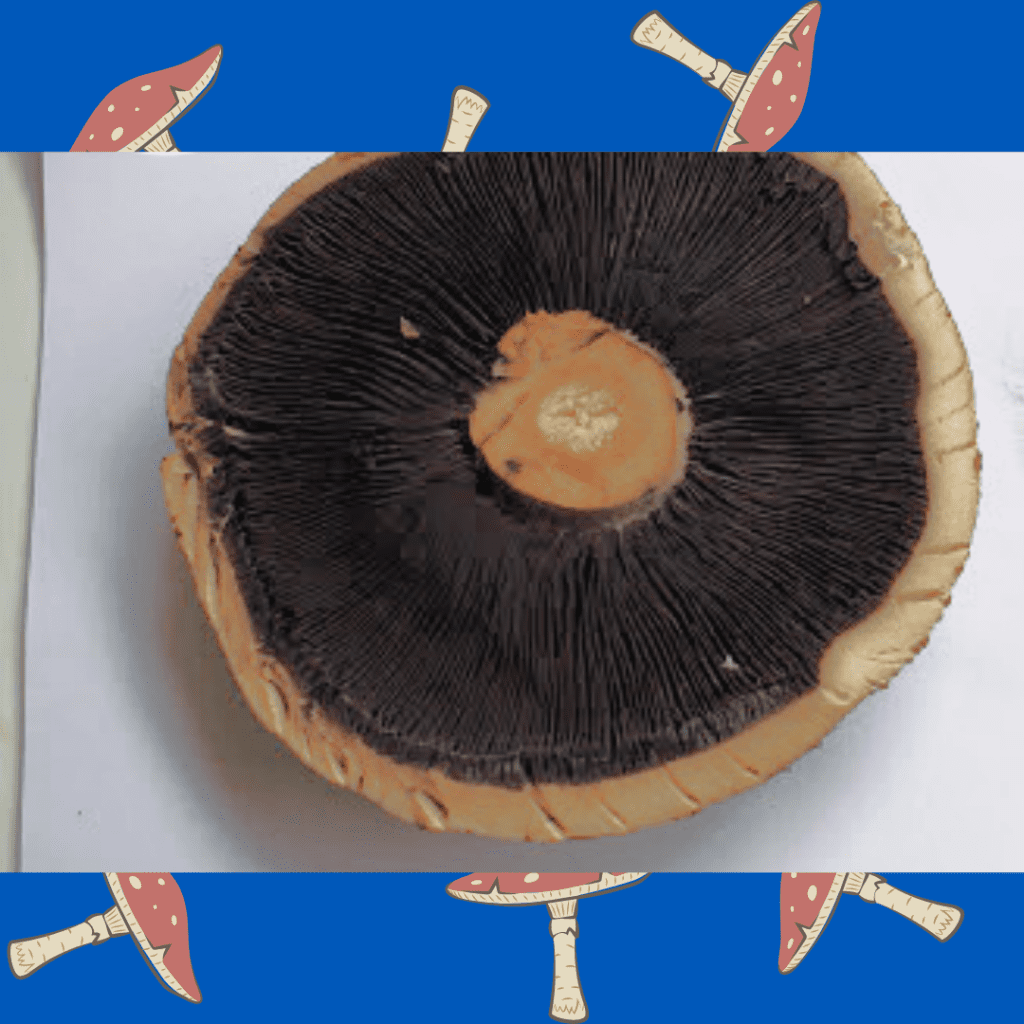
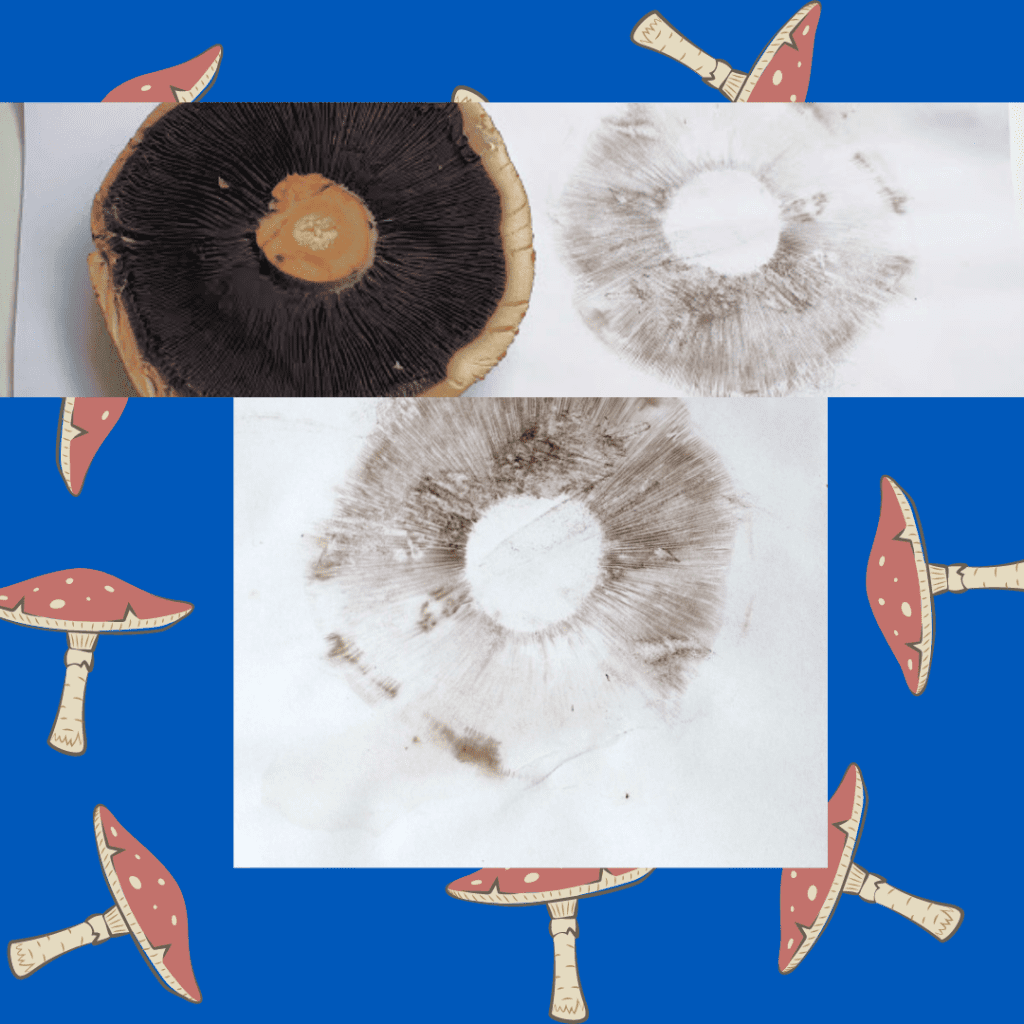
A spore print is the powdery deposit obtained by allowing spores of a fungal fruit body to fall onto a surface underneath. It is an important diagnostic character in most handbooks for identifying mushrooms. It shows the color of the mushroom spores if viewed en masse.[
Thanks to Go Science Kids for the instructions!
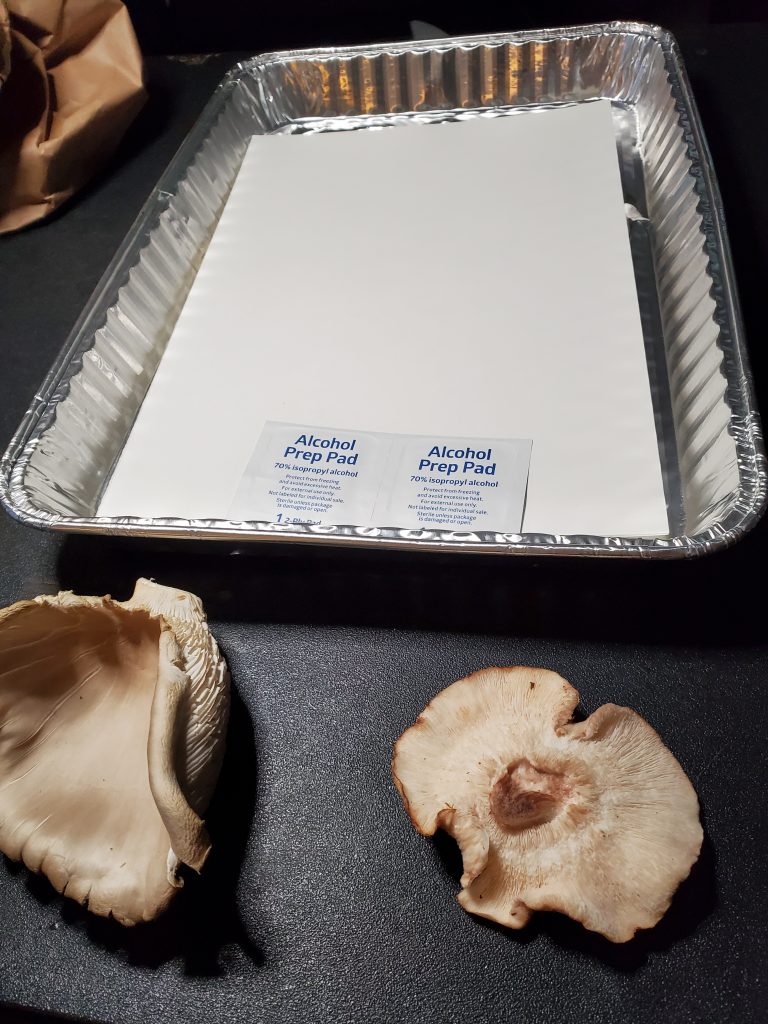
Supplies
- A mushroom
- Piece of thick paper
- Alcohol pads
- Scissors (or a knife – ask for help if you need it!)
- Some sort of enclosure (your kit comes with an aluminum pan and aluminum foil)
Before you start, also grab a small bowl of water!
Step 1: Sanitize and Cut
- Sanitize your hands and your scissors with the alcohol pads.
- Cut off any dried pieces of the mushrooms to expose fresh gills.
Step 2: Place, Hydrate, & Cover
- Place your mushrooms gill-down on the paper. You want as much contact between the mushroom and the paper as possible.
- Sprinkle a few drops of water on the top of the mushrooms. This encourages spore dropping.
- Cover the aluminum pan with foil. Set the pan aside somewhere where it won’t be disturbed. Leave overnight.
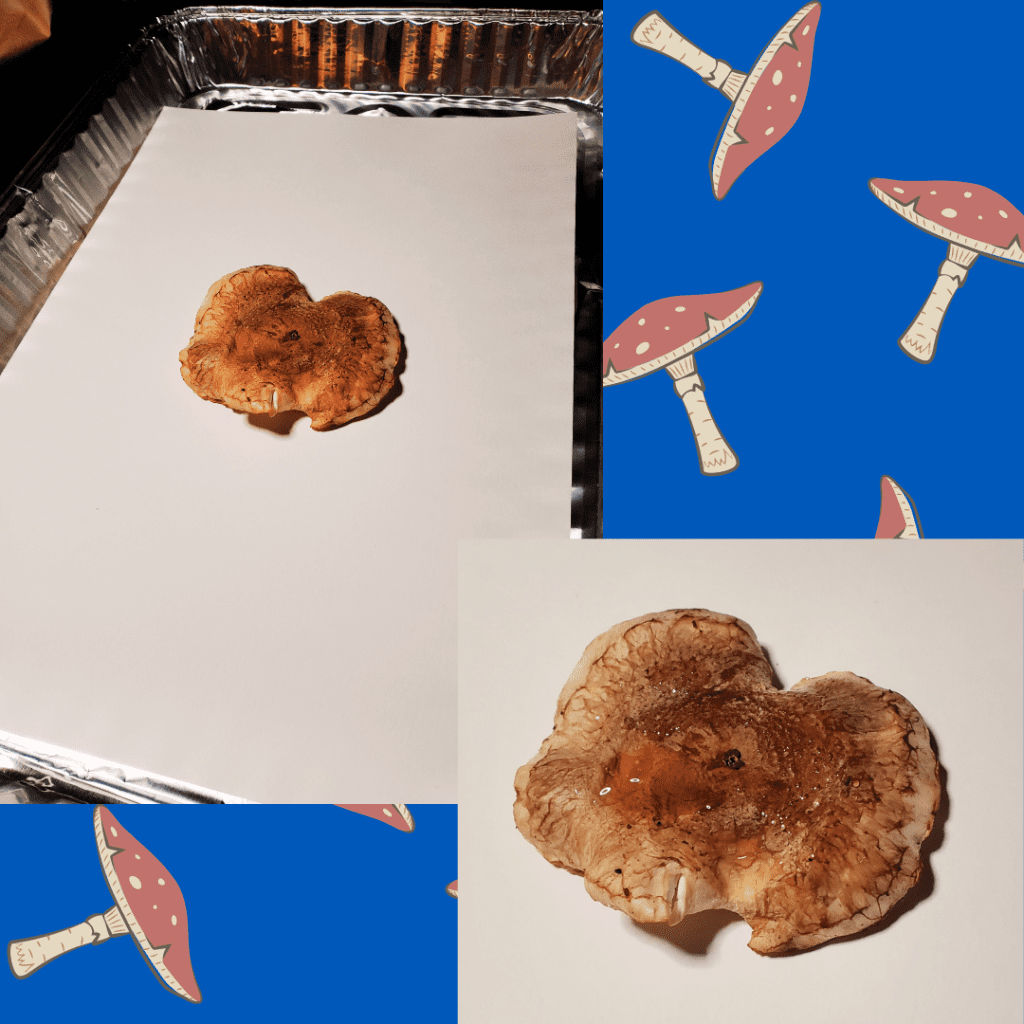
Step 3: Uncover!
- After leaving the pan alone for 12-24 hours, uncover.
- If you want to preserve your print, you can use some sort of spray sealant – like hairspray! Make sure to use outside.
- If you don’t get a good print, it’s probably because the mushroom has dried out too much. You can pick up more mushrooms at any grocery store, or at the Carbondale Farmer’s Market!
WEDNESDAY: GROW YOUR OWN MUSHROOMS WITH MUSHROOMMAN MIKE IN THE LIBRARY GARDEN!
